Moodle: How to Create Groupings
This article has not been updated recently and may contain dated material.
A grouping is simply a group of groups. Groups can be used to do things like restrict access to certain activities or send Moodle Mail to large subsets of students. However, this can still prove cumbersome with large number of groups containing small number of students each. So groups can be added to groupings and the groupings can then be leveraged as described above.
To Create Groups in Moodle:
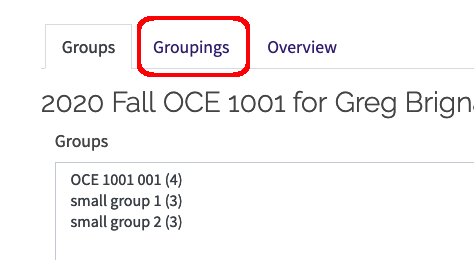
- From the main page of your course, click the Admin menu (cog wheel) near the upper right corner. Expand the Users submenu and then select Groups. The group management tool will open. Across the top are tabs for Groups, Groupings, and Overview. Click the Groupings tab.

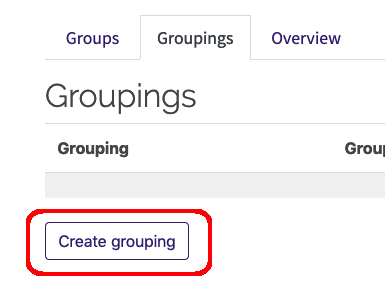
- On the Groupings management tab, click the Create grouping button at bottom. The steps for creating groups and groupings are nearly identical, so be sure that you are on the correct tab when initiating this process.

- On the ensuing screen, simply provide a name for the grouping, a description if desired, and click the Save Changes button at the bottom of the screen. Repeat this process until you have created all necessary groupings.
- When finished, your groupings will be shown along with their groups (none at present) and some editing tool icons on the far right. Click the torso icon to begin adding groups to your grouping.

- Here again, the process of adding groups to groupings is nearly identical to that of adding members to groups. However, you will know you are on the correct screen because all of the potential members (shown initially on the right side) will be names of groups and not names of individuals. Simply click on the available groups on the right side and then click the Add button to add them to your grouping on the left. When done, click the Back to groupings button at the bottom of the screen (there is no Save Changes button on this screen).

Related GROK articles
20242
7/2/2024 1:45:35 PM