Moodle allows all teaching roles (including TAs) except the Non-Editing Instructor to back up Moodle courses. The process saves a backup file of the current state of a course according to settings selected during the process. When the process is complete, the backup file is available through Simple Restore and can be downloaded and saved to a computer or cloud storage. The backup file type is .mbz, which can only be opened and used within a Moodle site.
To import an external backup file into Moodle, it must be smaller than 500 MB in size. Due dates restored from a backup file will adjust based on the new course's start date. For example, an assignment due 7 days after the saved course start date will be updated to 7 days after the new course's start date when the file is restored.
Moodle also performs automated weekly backups, and manual backups of all teaching courses are performed at the end of each term. To learn more about these backups, see GROK 20178: Moodle Backup and Restore Overview.
Backing Up a Course
1. Log in to Moodle and open the course for which you want to create a backup file.
2. In the course sidebar, click on the administration menu gear icon.

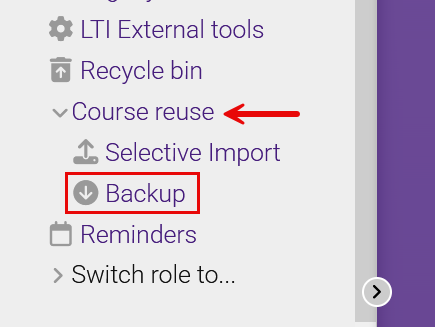
3. Either open or click on the Course reuse menu and choose the Backup link.
4. On the Initial settings page, select items you would like to include in your backup. If there are no group activities in the course, deselect Include groups and groupings to avoid saving unnecessary groups in your file. Click Next.
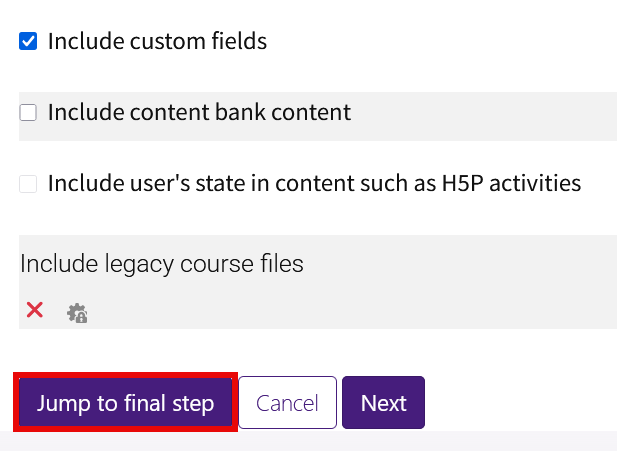
Tip: If you are backing up the entire course and the default settings meet your needs, click Jump to final step to skip the remaining steps and perform the backup.
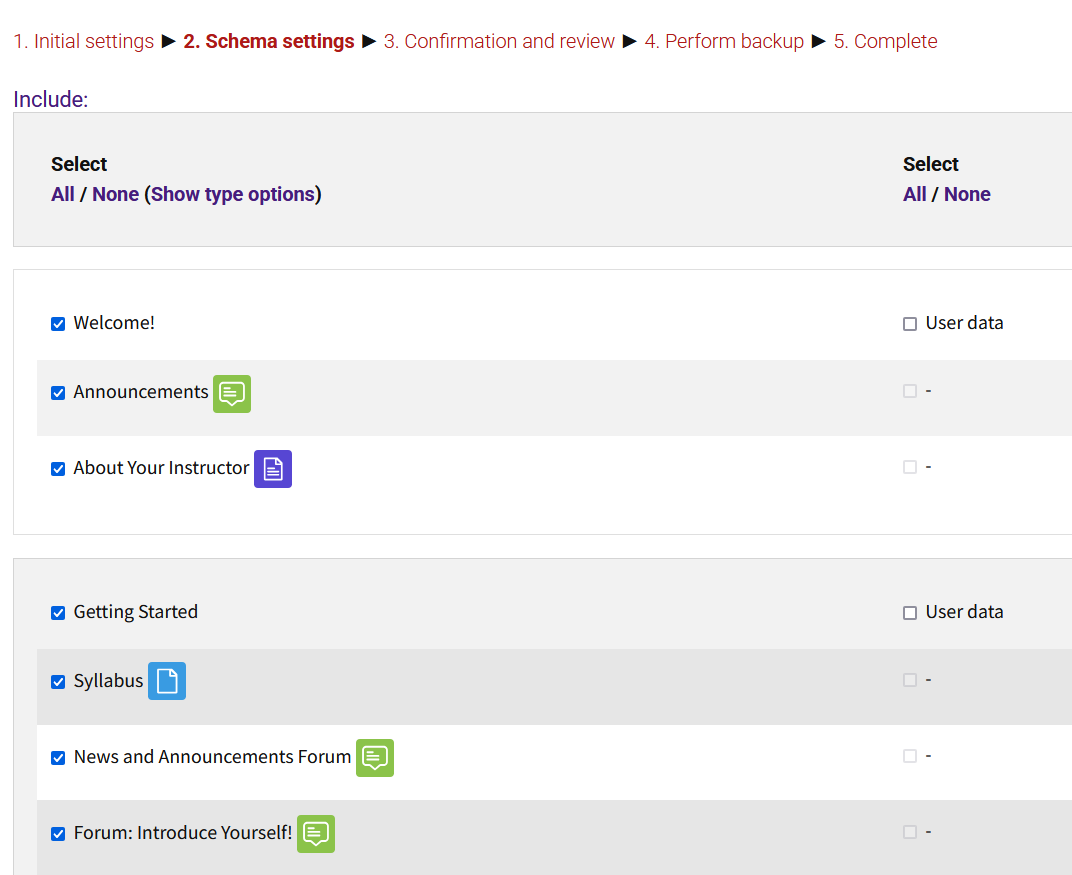
5. On the Schema settings page, include or exclude topic sections or activities from your backup file. If there are several items and you only want to include a few, use the All / None selector to deselect all and then re-select just the items you want. When done, click Next.
Note: This page may take several minutes to load, depending upon how much material you have in the course.
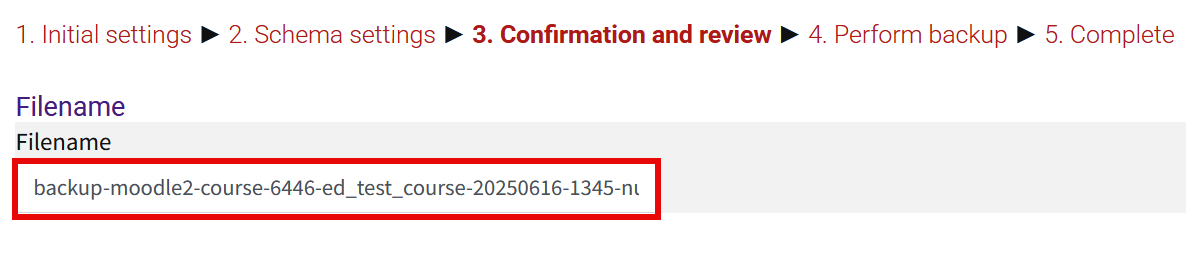
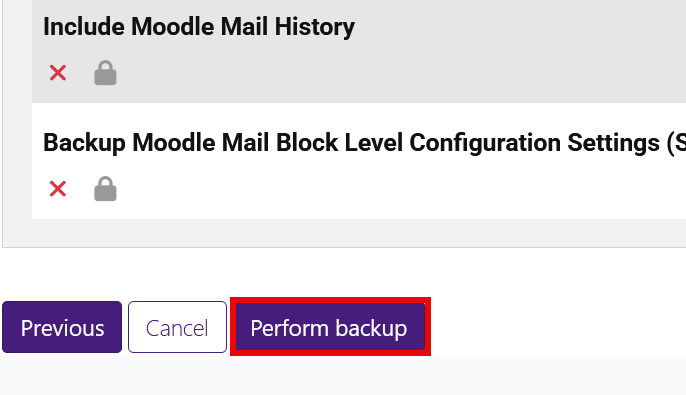
6. On the next screen, confirm and review the selections. When you are ready, click Perform backup at the bottom of the page. Note that you can rename the backup file by typing in the Filename textbox at the top of the page.
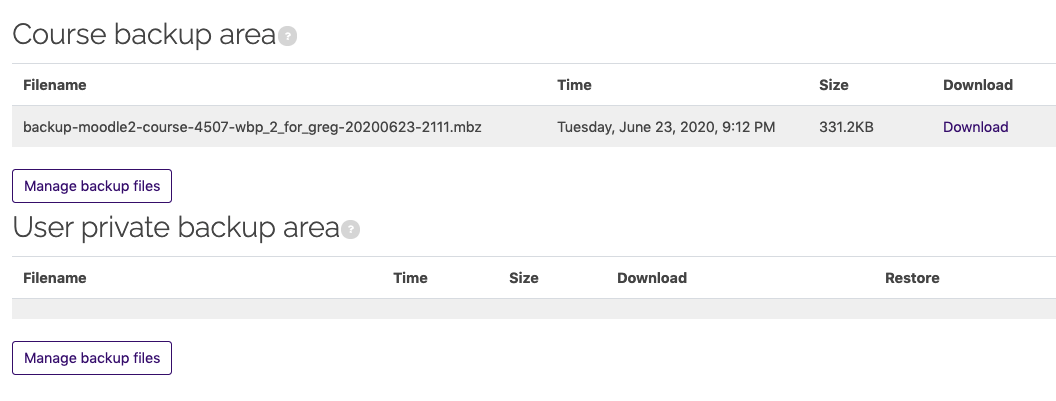
7. When the backup process is finished, click Continue to access a list of your backup files, along with their dates, sizes, and download options.