Selective Import allows instructors and TAs (excluding Non-Editing Instructors) to import selected content from one Moodle course into another on the same site. This process is similar to copying and pasting and does not create a backup file. Simple Restore is best suited for initially populating an empty course with content, whereas Selective Import is designed for making minor modifications.
Since Simple Restore is unavailable when grades are present in the course (to prevent accidental data loss or duplication), Selective Import provides a safer alternative by allowing you to import only specific items without modifying existing content or due dates.
To Selectively Import Materials from Other Moodle Courses:
1. Log in to Moodle and open the course where you want to import content.
2. In the course sidebar, click on the administration menu gear icon.

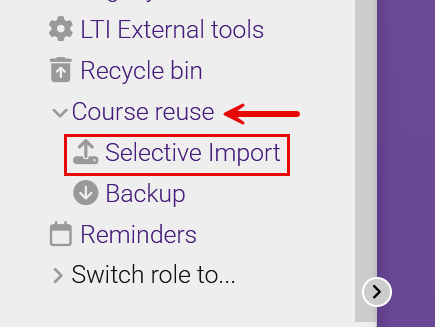
3. Either open or click on the Course reuse menu to find the Selective Import link.
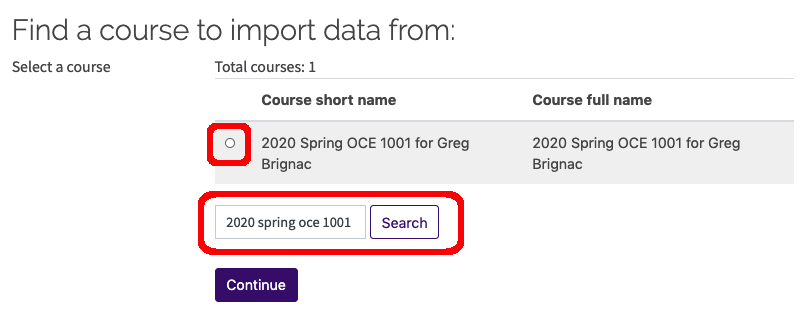
4. On the Course selection page, either select a course in the list or use the Search function to find the correct course.
NOTE: You must have instructor or TA access in both the source and destination courses to import content.
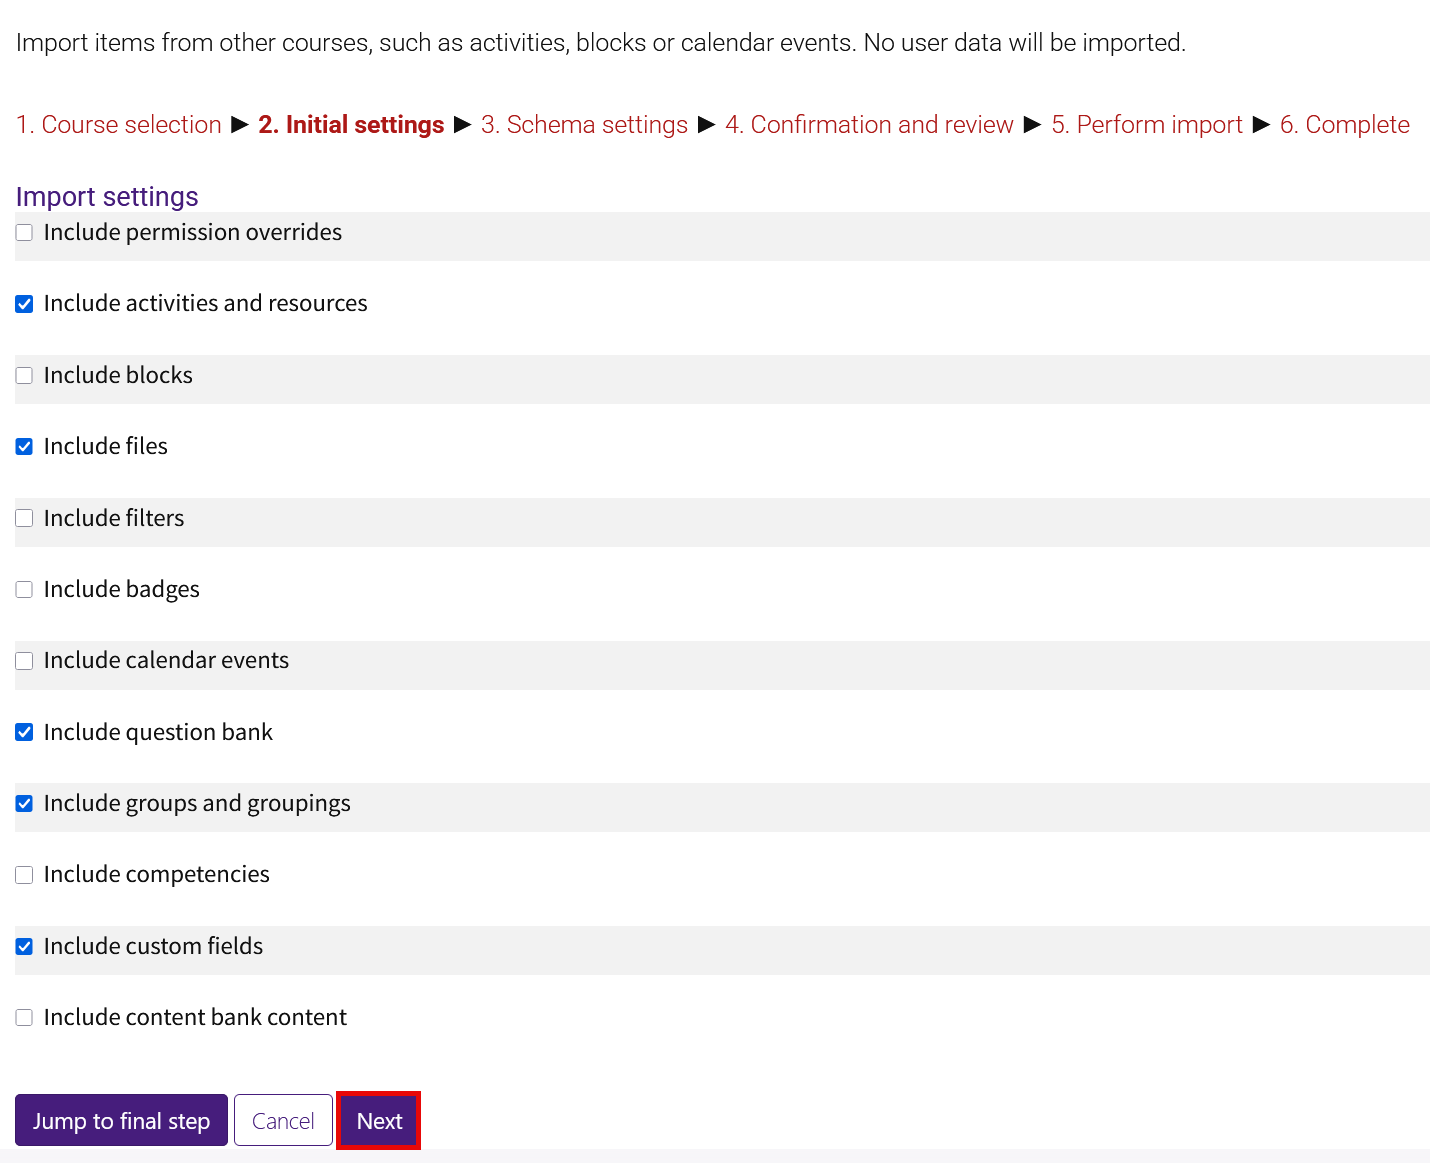
5. In Initial settings, choose what types of things to include in the import. Deselect Include groups and groupings to prevent importing empty groups into your course. If you plan to import quizzes, make sure Include question bank is selected. Once done, click Next.
Tip: If you are not importing quizzes, deselect Include question bank to make the import faster from courses with large question banks.
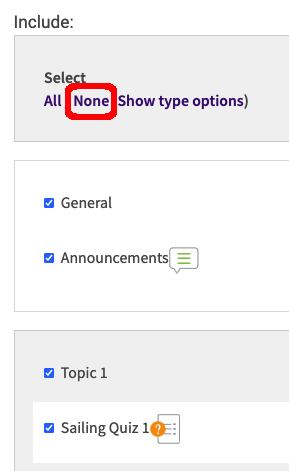
6. In Schema settings, select the items you want to include in the import. When you are done, click Next to go to the next step. (Importing large files may take several minutes.)
NOTE: Moodle will only import the content items that have a check next to them. By default, ALL items are checked. You must manually uncheck the items that you DO NOT WANT to import. If you only want to import a single or small number of content items, you can select None at the top of the menu to deselect all items. Then you can select only the item or items you wish to import.
7. On the Confirmation and review page, you will see what is selected and not selected for import. Verify that the correct items have been selected, then click Perform import. The process may take several minutes if you are importing a large number of items or if you are importing a large question bank.
8. While the content is being imported, you will see a percentage bar and the time left in the import. Once it is complete, click Continue to return to your course.